
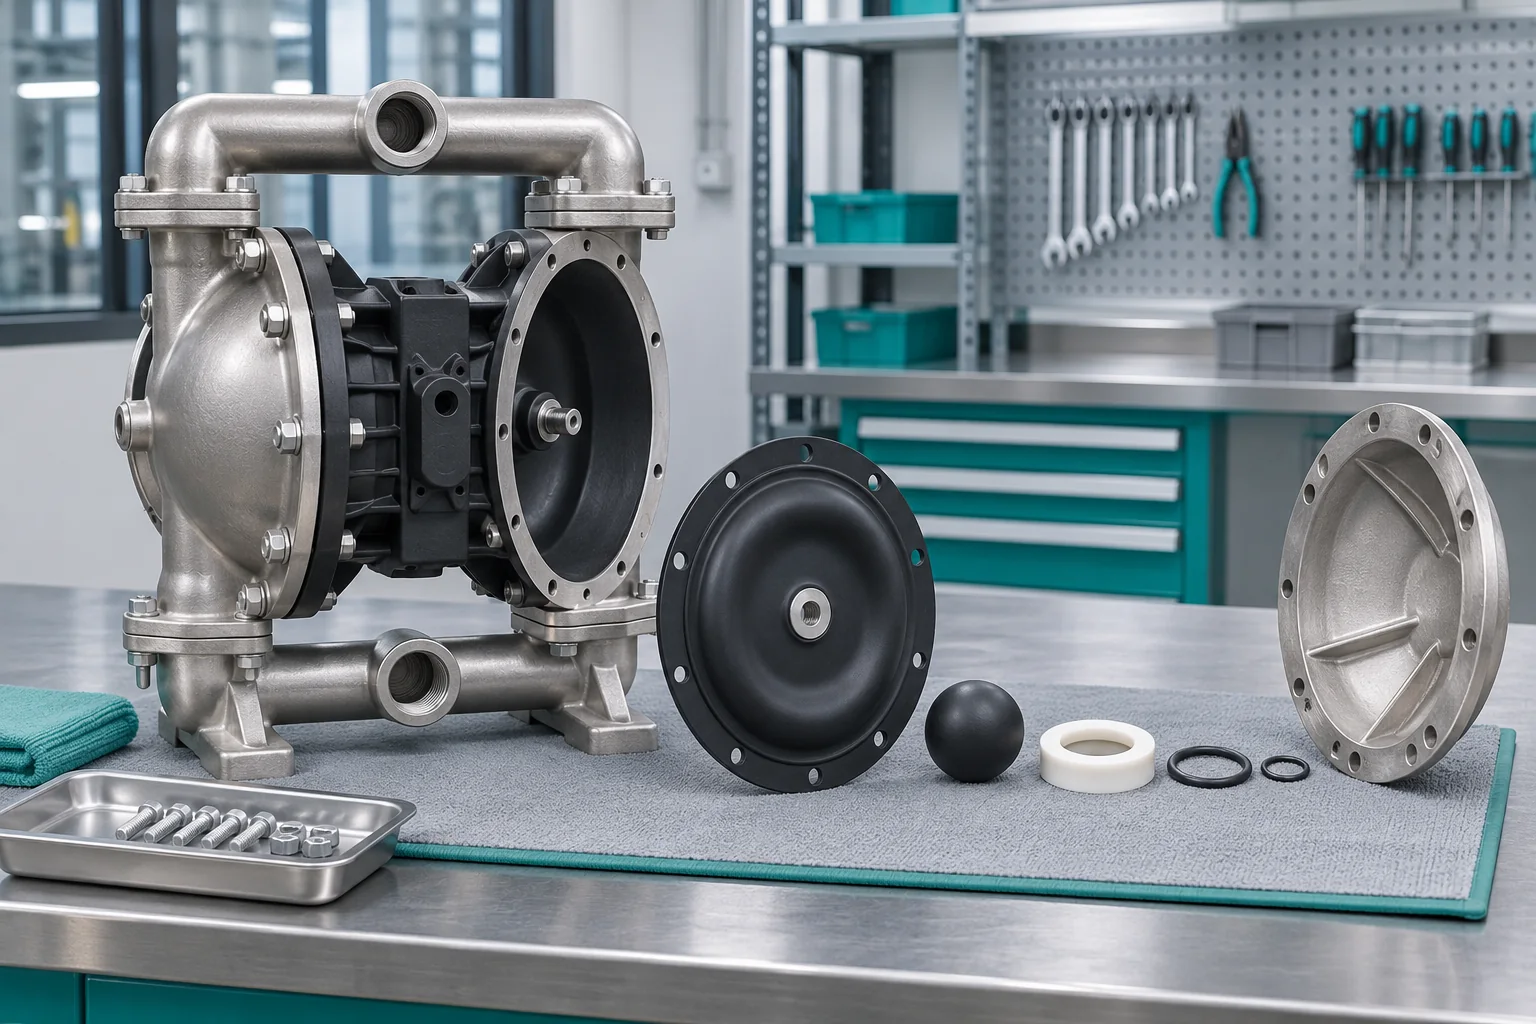
1. Isolate, depressurize and preserve evidence
Stop the air and liquid supplies, lock out the system and relieve trapped pressure before opening the pump. Photograph both diaphragms and note whether damage is a cut, blister, crack, abrasion, permanent stretch or a failure near the centre plate.
2. Recheck the entire fluid exposure
Review concentration, temperature, cleaning fluid, startup residues and batch variation—not only the product name. Compatibility must cover the diaphragm and every other wetted elastomer. Swelling, softening or blistering can indicate chemical or temperature exposure outside the selected material’s limits.
3. Look for mechanical over-stress
Excessive inlet air pressure, rapid cycling, a closed discharge, incorrect shaft or plate assembly, or unsupported piping can impose abnormal stress. Compare the actual installation and service procedure with the exact model instructions rather than another pump size.
4. Check suction and solids conditions
High suction lift, a blocked strainer, viscous liquid or an undersized suction line can starve the liquid chamber and increase cyclic stress. Sharp or oversized solids may cut or abrade the diaphragm and valve components. Record particle size and concentration instead of describing the fluid only as “slurry.”
5. Correct the cause before restarting
Replace diaphragms as the model’s service procedure requires and inspect companion wear parts. Correct the compatibility, pressure, piping or assembly issue first; otherwise a new diaphragm may reproduce the same failure. Confirm leak-free operation at controlled speed before returning to normal duty.